

Big Walk Walkthrough: Beach, Map Room & Travel Unlocks
Follow Big Walk from the beach drawbridge to the Map Room, train, chairlift, and tunnel unlocks with a verified, spoiler-aware main progression route.
- Published
- 2026-08-07
- Updated
- 2026-08-13
- Verified
- 2026-08-13
 Walkthrough
Big Walk does not use a conventional chapter list. The island opens through control panels, puzzle rewards, keys, and transport systems. The beach section is fixed; after the drawbridge, most tower progress can be tackled in a different order.
This walkthrough follows a practical route: finish the beach, unlock the Map Room, then use the remaining towers to activate the island’s travel systems. It focuses on objectives and directions while keeping later discoveries hidden. Use the visible controls in the current world if a patch changes a label or route marker.
- 01Beach
Solve four local puzzles and lower the drawbridge
- 02Red Tower
Use five rewards to unlock the Map Room
- 03Open Island
Choose Blue, Green, or Yellow in any order
- 04Travel Tools
Unlock trains, chairlift, and tunnels
Before you start
Big Walk needs at least two players for full progression. The official FAQ says one person can start and walk around briefly, but there is no solo mode; supported cooperative sessions range from 2–12 players. Pick a host who can reliably return, because the host keeps the world save and must open it for later sessions.
Use proximity voice or text chat, but agree on a few simple signals before leaving the opening area. A raised arm can mean “press now,” a repeated point can show a direction, and a held object can mark a destination. Several puzzles separate players or remove normal speech, so a shared visual signal saves time.
The beach rewards are tied to the four opening challenges because the raised drawbridge keeps the group inside that region. Later guides show players placing red rewards into tower panels, but the available sources do not prove that every reward works at every tower. Follow the visible panel and current route instead of treating all red objects as universally interchangeable.
Part 1: finish the beach and lower the drawbridge
Leave the tutorial building and move down toward the sand. The low beach control panel needs four red puzzle rewards. These come from the four accessible challenges in the opening region.
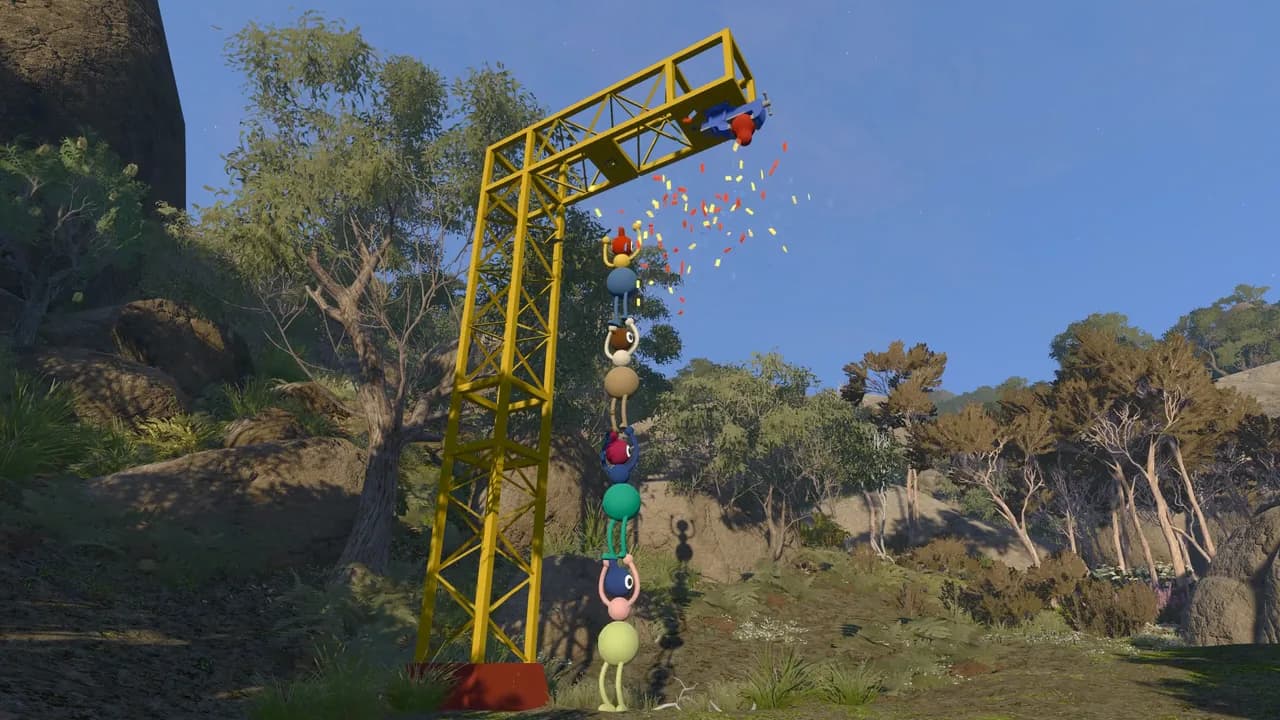
Crane button
Find the yellow crane among the rocks. One player lifts another onto their head so the upper player can reach the red button under the crane. Pressing it releases the first reward.
If the button looks impossible to reach, the missing step is player stacking. Aim at a teammate, use the interaction control, then move carefully until the top player is directly below the button. Keep the stack steady before the upper player presses the control.
Telescope and distant light
At the telescope platform, one player holds the red button. A distant red light marks the reward while the button stays held. The second player follows that line and collects it.
Do not release the button when the runner disappears from view. The runner should confirm collection before the player on the platform lets go. A simple signal prevents the group from resetting the attempt too early.
Blue house symbol sequence
The blue house has wooden symbol pieces outside and a display inside. Put one player in the house and leave another with the pieces. Starting the puzzle locks the roles in place.
The inside player reads the five symbols from left to right. The outside player chooses the matching pieces and places them in that exact order. Describe shape, direction, and any loop or bend instead of inventing one-word nicknames halfway through the sequence. Check the panel only after all five slots are filled.
Green scaffolding buttons
Players stand on opposite sides of the green scaffolding. Press the two buttons in quick succession. Use a visible countdown or arm signal rather than both players guessing.
The switch count changes with the selected 2-player, 3-player, or 4+ world setup and can reach four. The underlying rule remains coordinated input. Reset positions, choose one caller, and repeat if the timing window is missed.
Part 2: cut the beach key
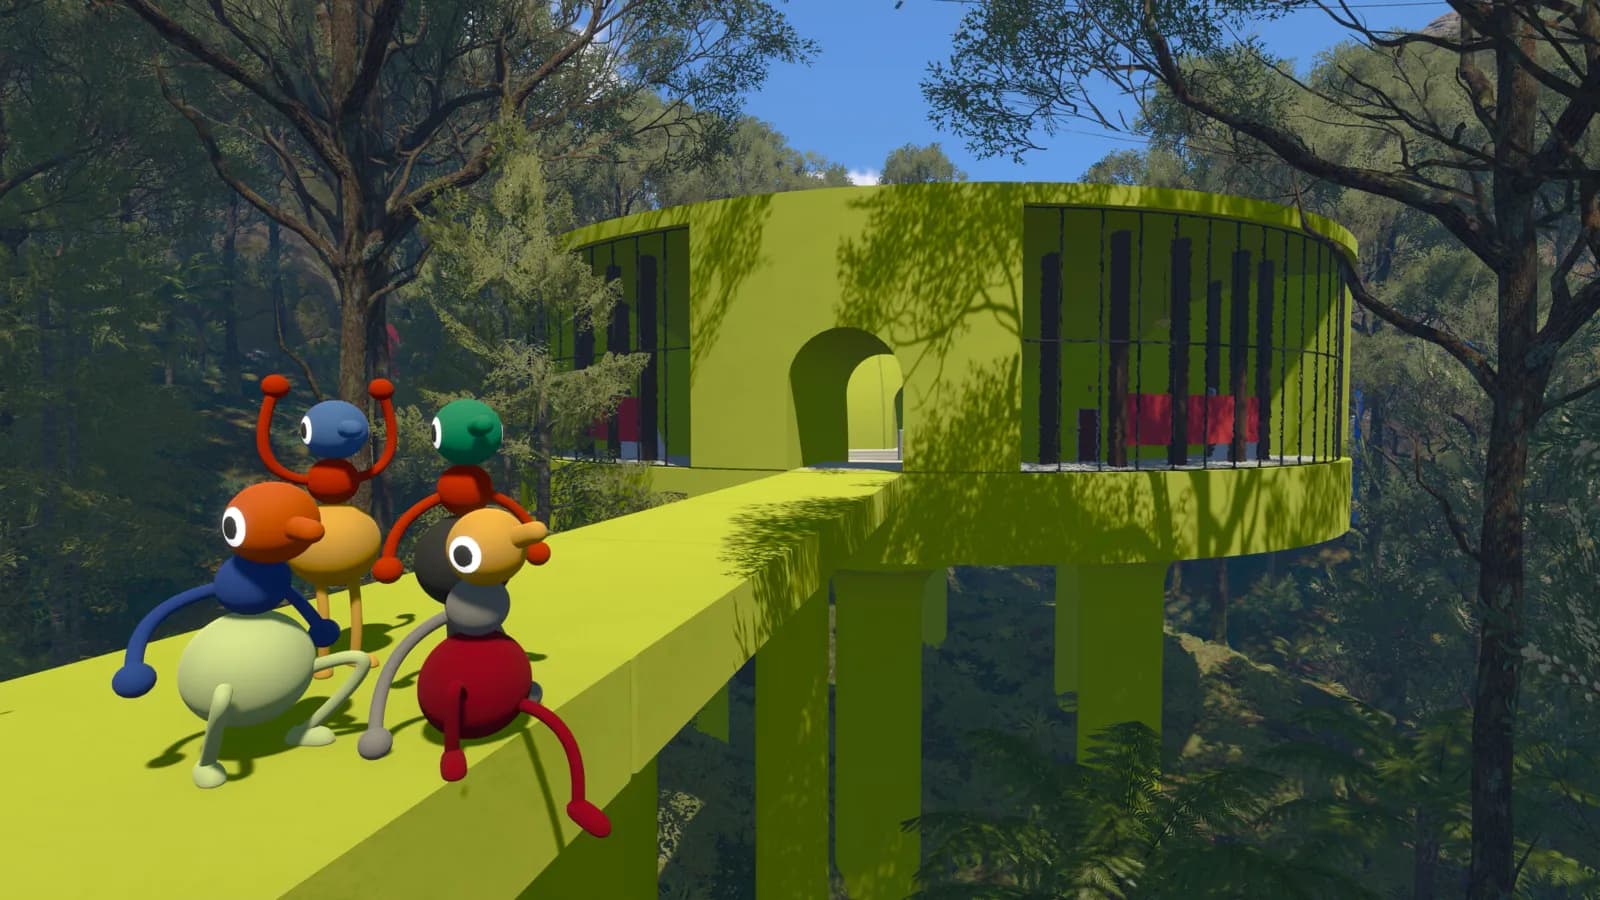
Return all four red rewards to the beach control panel. Hold the matching buttons to open the slots, place the rewards, and take the golden key when it is released. Count the rewards before leaving the beach so one is not left at an earlier puzzle.
The key does not fit the drawbridge immediately. Follow the nearby key-cutting machines in sequence. Insert the key, wait for the cut, then use the arrow revealed by that machine to find the next one. The route descends toward the beach before turning back to the raised drawbridge.
Avoid carrying unrelated loose objects while doing this. If the group becomes separated, keep the key with one named player and regroup at the last cutter. Once the final cut is complete, insert the key at the drawbridge control and move into the wider island.
Part 3: unlock the Map Room
The Red Tower is a useful next objective because its key opens the Map Room. A current four-player video walkthrough and a separate player route show the tower reached after the bridge, five red rewards placed at its panel, and the released key taken through a cutter route. This route is documented through player gameplay rather than an official written quest list.
Collect the required rewards from accessible puzzles in that region and keep the group together when carrying them back. Use the visible tower count instead of relying on a fixed checklist of five puzzle names. The puzzle solutions guide covers the opening solutions and clearly marks tips that come from player reports.
Once the panel is filled, collect the Red Tower key and follow its cutter arrows down the mountain. The current video route ends at the Map Room entrance, where the shaped key unlocks the map. Keep one player responsible for the key so the route does not turn into a search for who last carried it.
Part 4: choose the next tower
After the Map Room, the island route becomes more flexible. The official guidance does not require a Blue–Green–Yellow order. Use the sections below to choose whichever travel tower your group can reach and understand what it unlocks.
Blue Tower: trains
The current community guide index maps five nearby puzzles as a convenient route around the Blue Tower. It also notes that, after the beach, tower puzzles are not permanently assigned to one tower. Follow the panel count shown in your build and treat the listed five as nearby options, not fixed requirements.
Green Tower: chairlift
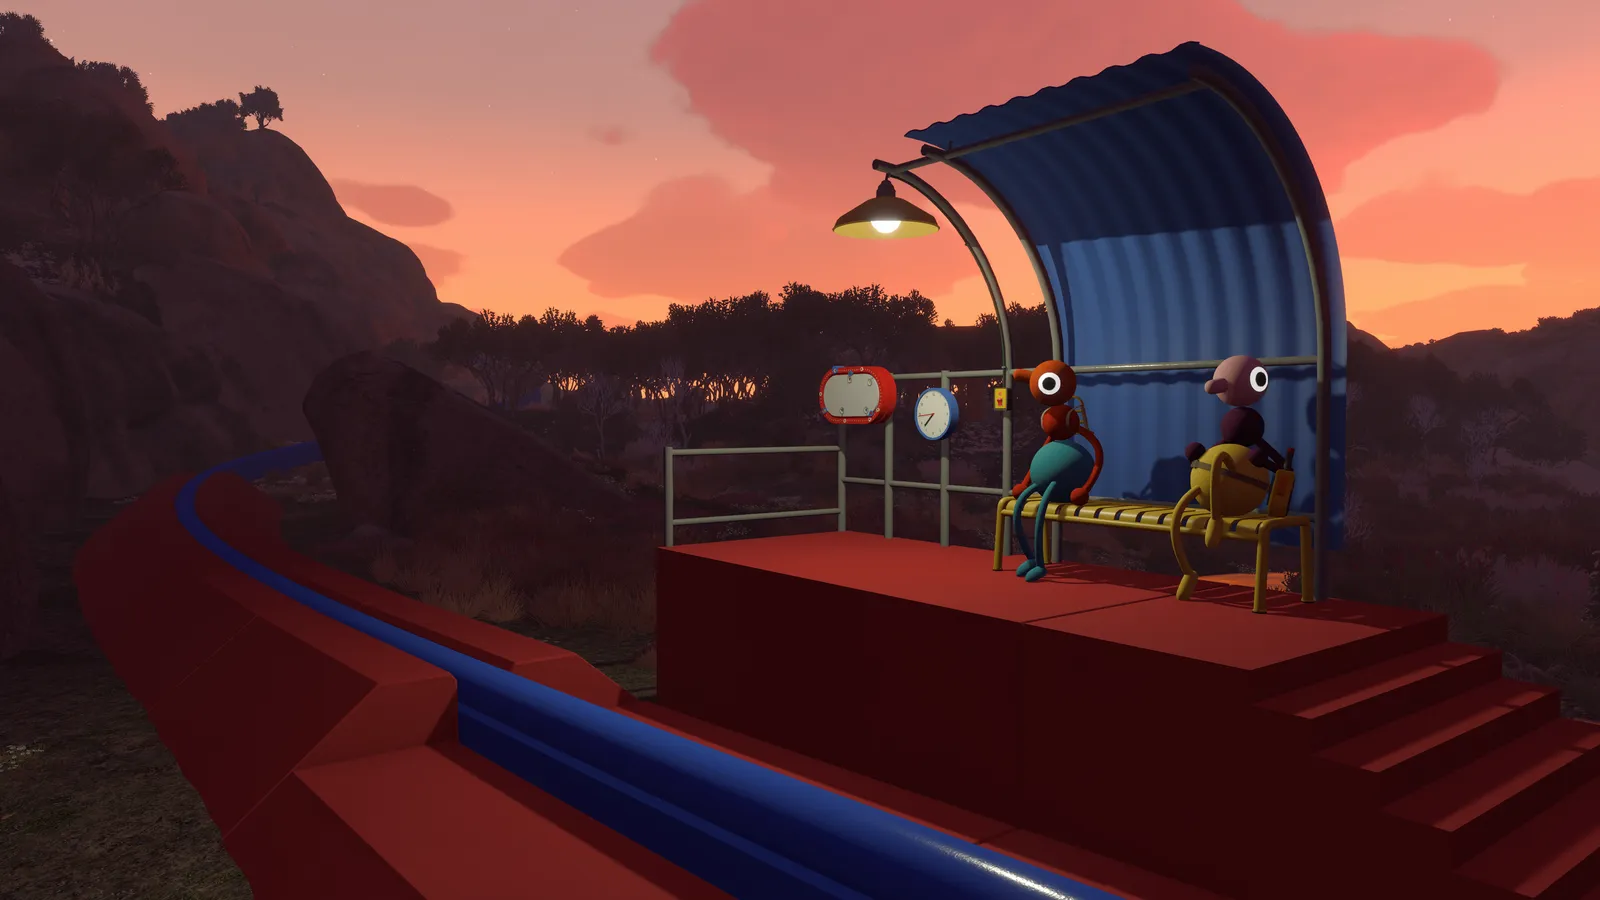
The Green Tower route releases the key used for the chairlift. Fill the tower panel, take the key through its cutters, and insert the finished key at the chairlift control. The map makes this route easier to plan, and the nearby puzzles do not need to be completed in one fixed order.
Yellow Tower: tunnels
The current Insider Gaming tunnel guide shows the Yellow Tower rewards releasing a key that is cut and inserted at a yellow tunnel entrance. Completing that route activates the tunnel network across the map. Treat coordinates and individual puzzle locations as patch-sensitive, but the tower-to-key-to-tunnel progression is supported by the published walkthrough.
The tower loop in plain English
The independently documented Blue, Green, and Yellow travel unlocks follow a recognizable pattern:
- Find the tower’s control panel.
- Solve accessible co-op puzzles and keep the red rewards.
- Fill the required panel slots.
- Collect the golden key.
- Follow each key-cutter arrow in order.
- Use the finished key at the related building or transport control.
When a panel will not complete, count the inserted rewards before searching for a hidden interaction. If a cutter arrow appears unclear, one player should remain beside it while another scouts the direction. This keeps the group anchored at the last confirmed point.
What to do when progression appears stuck
First, confirm that the correct host opened the intended save. Guests do not own the world progress, so a different host can make the group appear to have lost its route. Then compare the visible tower slots with the rewards currently carried by the group.
If a puzzle appears complete but releases nothing, reset only that attempt before restarting the whole world. For symbol tasks, verify order and orientation; for synchronized controls, choose one caller and repeat the same countdown. For later search puzzles, follow the objective, counter, and clues shown in the current room instead of assuming a fixed object count.
Patch changes can alter a location or interaction. Record the version shown at the bottom of the main menu and compare it with the first two numbers used by the rest of the group. Recheck the official FAQ before using destructive fixes or assuming the save is permanently broken.
Walkthrough FAQ
Do the towers have to be completed in one order?
The beach drawbridge comes first. After that, unlock the Map Room for easier navigation, then take on the train, chairlift, and tunnel routes in the order that suits your group.
Are puzzle rewards locked to one tower?
The opening beach panel uses the four rewards from its four accessible puzzles. Later sources show red rewards being inserted at tower panels, but they do not prove that every reward is accepted by every tower. Use the panel in the current world instead of assuming universal interchangeability.
How many rewards does a later tower need?
The currently documented Red, Blue, Green, and Yellow tower routes each use five red rewards. The Red route is supported by community gameplay, while the three travel towers also have separate written walkthroughs. If a later patch changes the panel, follow the number of slots visible in your game.
Why did our progress disappear?
The host owns the world save. If a different player hosts, the group may be entering another world. Return to the original host and intended save before troubleshooting anything else.
Is this a 100% secret walkthrough?
No. This page covers main island progression and major travel unlocks while avoiding late discoveries and unverified secret claims.
Big Walk Help is an independent fan site and is not affiliated with House House or Panic.
Still having trouble?
Bring the details. Get a better answer.
Include your platform, game version, exact error text, and what you already tried.